Happy Mother’s Day 2 Gable Favor Box: Crafting and Packaging Tips for a Flawless Result
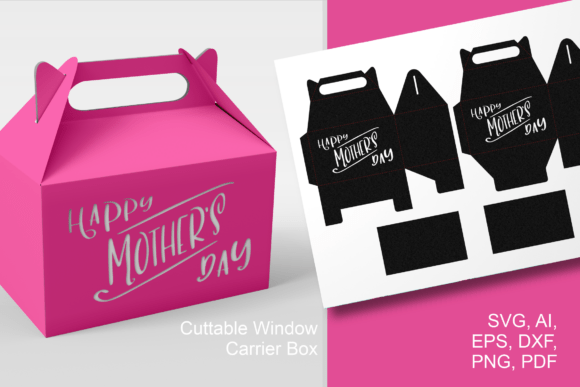
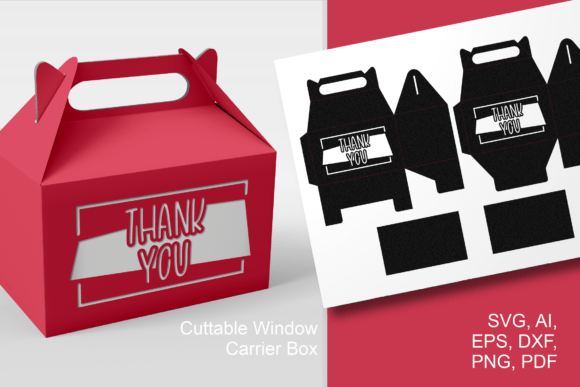
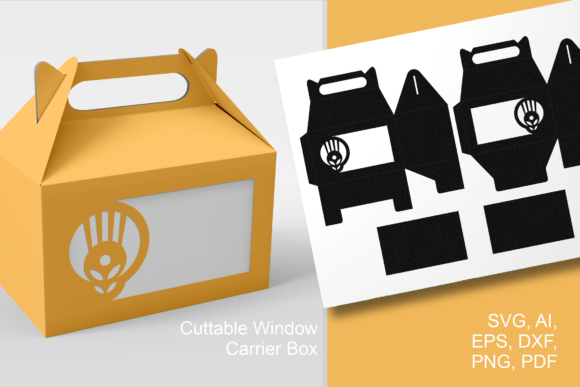
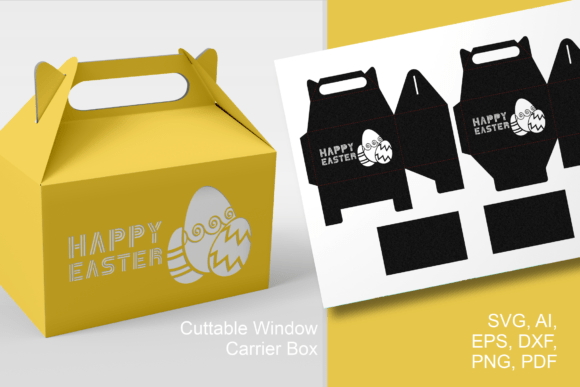
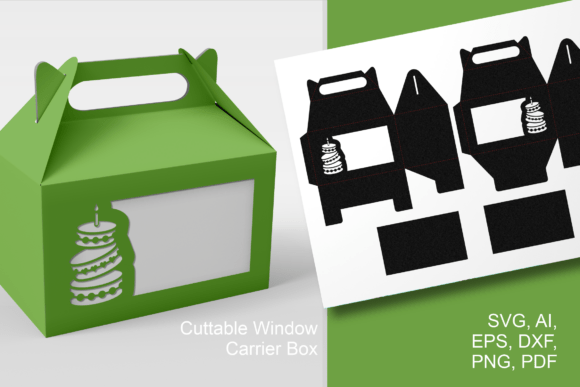
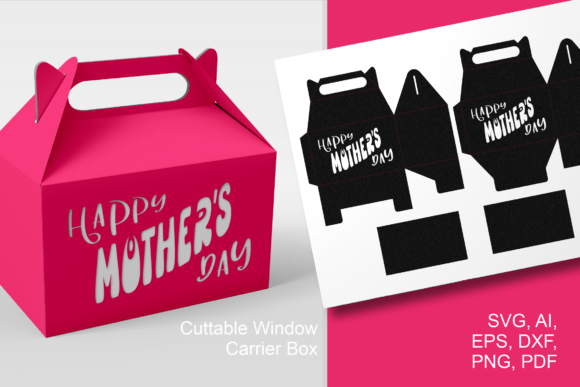
Finding a gift box that feels both elegant and handmade can be a challenge. The Happy Mother s Day 2 - Gable Favor Box template answers that need beautifully. This digital paper-cut design features a charming “Happy Mother’s Day 2” text cutout and wide decorative windows on the front and back, offering a peek at the treats inside. It’s a carrier-style box with four parts—two for the box body and two for transparent inserts—that comes together as a sturdy way to present candies, cookies, or small homemade gifts. Whether you run a small bakery, plan a Mother’s Day brunch, or simply love DIY party favors, this template saves time while letting you personalize every detail.
Because the files are instant-download vector graphics, you can use them with cutting machines like Cricut or Silhouette, or even a laser cutter. But turning a beautiful digital design into a crisp, professional-looking box isn’t always as simple as hitting “print and cut.” Small oversights during planning and assembly can lead to flimsy structures, misaligned windows, and wasted materials. Instead of frustration, let’s walk through the most common pitfalls and how to avoid them, so your favor boxes become the highlight of your celebration.
Understanding the Gable Box Template and Its Unique Features
Before diving into technique, it’s worth noting exactly what this template provides. You receive digital vector files—SVG, EPS, AI, DXF—along with a vector-based PDF and raster formats like PNG and JPG. All are designed so that the finished box measures approximately 4 x 6.5 x 6.5 inches (10 x 16 x 16 cm). The design puts large see-through openings on the broader sides, framed by the “Happy Mother’s Day 2” cutout. This isn’t a simple flat box; it includes a gable handle for easy carrying, and the two transparent inserts protect the contents while showing them off. Creators often overlook that the two insert pieces need careful material choice and precise sizing to fit snugly. When you see the template as four interlocking parts rather than just “a box,” everything from paper weight to adhesive placement makes more sense.
Common Sizing and Scaling Errors That Ruin the Fit
One of the biggest mistakes happens right in the design software. The template is built to precise dimensions, but people frequently resize it without locking proportions, or they assume the default import size is correct. When you scale unevenly, the slot tabs or window openings can warp, making assembly impossible. A box that’s meant to hold small pastries might end up too tight or so loose that the contents rattle around unattractively.
A better approach: after importing the SVG or DXF into your cutting machine software, immediately check the bounding box dimensions. For a standard Cricut Design Space user, you might need to manually enter 4 inches wide, 6.5 inches tall, and 6.5 inches deep for the main body piece. Always measure twice virtually, and if you intend to resize the template, scale all parts at once, keeping the aspect ratio locked. Run a test cut on plain printer paper first—this takes minutes but saves your good cardstock. I’ve seen crafters skip this step and then discover the handle slots don’t align, forcing them to tape things together in a way that looks makeshift, not celebratory.
Choosing the Wrong Paper Stock for a Structural Box
A gable box with a handle needs to carry weight, even if it’s just a few truffles. Too many crafters grab standard 65 lb cardstock and wonder why their box collapses at the handle or sags under the load. Lightweight paper also struggles to hold crisp score lines, so the windows can look puckered instead of sharp.
The practical fix: use at least 80 lb cover weight or a good quality 200–250 gsm cardstock. If you plan to fill the box with heavier items like decorated sugar cookies, consider 110 lb cover (around 280 gsm). The thicker the paper, the more it holds its shape, but make sure your cutting machine can handle it—Cricut Explore and Maker models can cut most cardstock up to 110 lb with the deep-point blade. Test the score lines too; a bone folder or scoring stylus will give you a more professional fold than a dried-out generic pen. Also, look for paper that has a slight tooth or matte finish. Glossy cardstock often shatters at the delicate cutout edges of the “Happy Mother’s Day 2” text, leaving ragged openings that cheapen the final look.
Ignoring the Transparent Insert Measurements and Material
The template’s windows are one of its standout features, but without the right insert material, the box loses its polish. A common error is using thin plastic wrap or flimsy acetate sheets that wrinkle or tear during insertion. Others cut the insert pieces exactly to the window size, forgetting that the inserts need to extend beyond the opening to be adhered smoothly on the inside of the box.
I recommend a clear plastic sheet around 0.2–0.3 mm thick, like printable transparency film or lightweight clear acetate designed for crafts. Cut them a little larger than the window area—about a half-inch bleed on all sides—so you have a clean border to attach with double-sided tape or a fine line of clear glue. Don’t use hot glue, as its high temperature can warp acetate instantly. Before assembling the box, lay the acetate insert over the window from the inside and tape it down from the back. This way, your Mother’s Day sweets shine through without any messy adhesive bleeding into view. If you’re packaging items that have a strong smell, such as dried lavender shortbread, the acetate also keeps the aroma gently contained without spoiling the presentation.
Misreading the File Format Requirements for Your Cutting Machine
Digital craft files come with a small learning curve, and choosing the wrong format is a surprisingly frequent misstep. The product includes SVG, EPS, AI, DXF, PDF, PNG, and JPG files, but not all are meant for cutting. A beginner might download the beautifully colored JPG or PNG and try to use it as a cut file, only to find that the software traces the preview image, leaving rough, jagged cut lines instead of clean vector paths.
For electronic cutting machines, always use the SVG or DXF file. SVG is the most universal for Cricut and Silhouette Studio (Designer Edition and above). If you’re working with a laser cutter, the AI or EPS file will give you the precise strokes and fills you need. The PDF is vector-based and can be used for manual tracing or as a reference when scaling, but double-check that you’re not printing a flattened image of the template and trying to cut it by hand unless you intentionally choose that route. Pick the correct format from the start, and your score and cut lines will separate as they should, giving you a crisp “Happy Mother’s Day 2” cutout without fuzzy borders.
Assembly Blunders: From Glue Selection to Folding Technique
Even with perfect cuts, the final step can make or break the favor box. Rushing assembly leads to crooked seams, visible adhesive residue, and tabs that pop loose. Many people grab standard white school glue, which bleeds through paper and dries too slowly, allowing the box to shift. Liquid superglue, on the other hand, bonds instantly but often warps the cardstock and leaves shiny, hardened spots that are impossible to hide.
Instead, reach for a strong double-sided tape runner or a liquid glue made specifically for paper crafts, like a fine-tip tacky glue. Apply sparingly along the side flaps and the bottom closure, pressing firmly for a few seconds. For the gable handle, reinforce the inner crease where the handle meets the box side with a strip of thin cardstock if you think the box will be carried around a lot. Use a bone folder to sharpen every fold line before gluing; this one habit dramatically improves the box’s geometry and prevents the telltale bulging at the seams. If you’re making multiples for a party, set up a little assembly station with all pieces pre-scored and the adhesive ready. Production becomes smoother, and you avoid the mistake of discovering you’ve glued a side upside-down after the adhesive has set.
Not Testing Your Setup Before Making a Batch
Excitement can tempt you to cut a dozen boxes at once, but skipping a single test build frequently leads to wasted materials and time. Every cutting machine, blade condition, and paper brand interacts differently. You might find that the intricate “Happy Mother’s Day 2” cutout tears slightly on your cardstock, or that the file imports at 99.7% scale, throwing off the tab fit by a millimeter—enough to frustrate.
Run a single test box from start to finish using the exact paper and acetate you intend to use for the final gifts. Check how the handle locks together, whether the window inserts lie flat, and if the box sits level. If the cut isn’t clean, try a new blade or adjust the pressure settings. For delicate text cutouts, using a light-grip mat and a lower pressure can prevent ripping. Once you have a perfect prototype, note the settings and replicate them confidently. Small business owners especially benefit from this practice; a customer receiving a professionally constructed favor box with a neat, legible message is far more likely to return than one who sees a skewed window and glue smudges.
Using a digital template like the Happy Mother s Day 2 - Gable Favor Box transforms your gift wrapping into an experience. By paying close attention to sizing, paper choice, transparent insert preparation, file selection, and patient assembly, you’ll avoid the little mistakes that downgrade a heartfelt project. Whether you’re tucking in chocolate truffles, shortbread cookies, or a tiny jar of homemade jam, the result will be a favor box that looks as thoughtful as the gift inside. Take the extra time to test, choose quality materials, and embrace the details—your Mother’s Day presentation will be all the sweeter for it.